Nowadays Instagram Reels are everywhere, and good editing really makes a difference.KineMaster is an easy to use app that helps you edit Reels in a clean and professional way. You can cut clips, add music and text, and smooth transitions without any hassle.In this guide, we will show you step by step how to edit Instagram Reels in KineMaster. This tutorial is perfect for beginners and regular users alike.
Why Editing Reels Matters
Editing Instagram Reels makes your content look more professional and attractive.Good editing keeps your followers engaged and helps increase views. Simple things like trimming and adding text and music make a big difference.Well-edited Reels make your profile and content easily noticeable.
Points:
- Grab attention quickly.
- Look professional.
- Boost engagement and views.
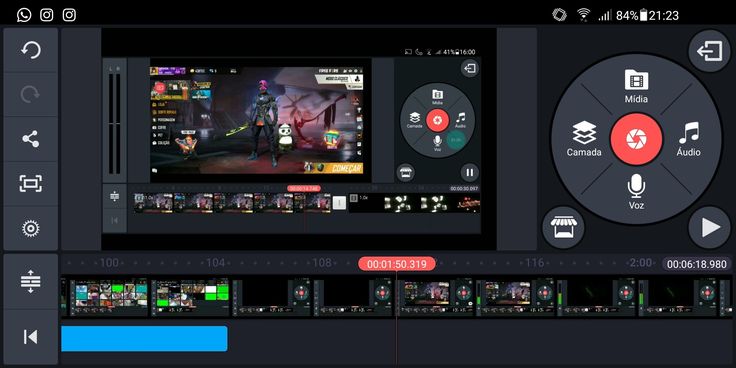
Starting with KineMaster
KineMaster is an easy to app available on both iOS and Android.You can easily import your clips,photos and music.The interface is simple and beginner-friendly so starting your editing journey is super easy.
Basic Editing Steps
To ensure a smooth video, first trim and organize your footage.Stickers and text transitions give your film a more polished appearance.The video is made alive and engaging with sound effects and music.These simple techniques will help you achieve a result that looks professional.
Points:
- Trim and arrange clips Properly.
- Add transitions for smooth flow.
- Insert text sticker and music.
Pro Tips for Attractive Reels
Keep your Reels short and crisp to maintain viewer interest.Use trending music and effects and make sure text timing is perfect.Filters and speed adjustments can improve video quality. Small details make your Reel stand out.
Conclusion
Learning KineMaster basics lets you easily create professional looking Instagram Reels.Regular practice will improve your skills and make your content more engaging.Simple edits plus a bit of creativity will impress your followers every time.